Tapered sculpting brush
A narrow brush that tapers to a soft point, made to place shadow with its tip and blend it with its sides. How it differs from an angled contour brush, how to choose and use one, and the stage lining brush it descends from.
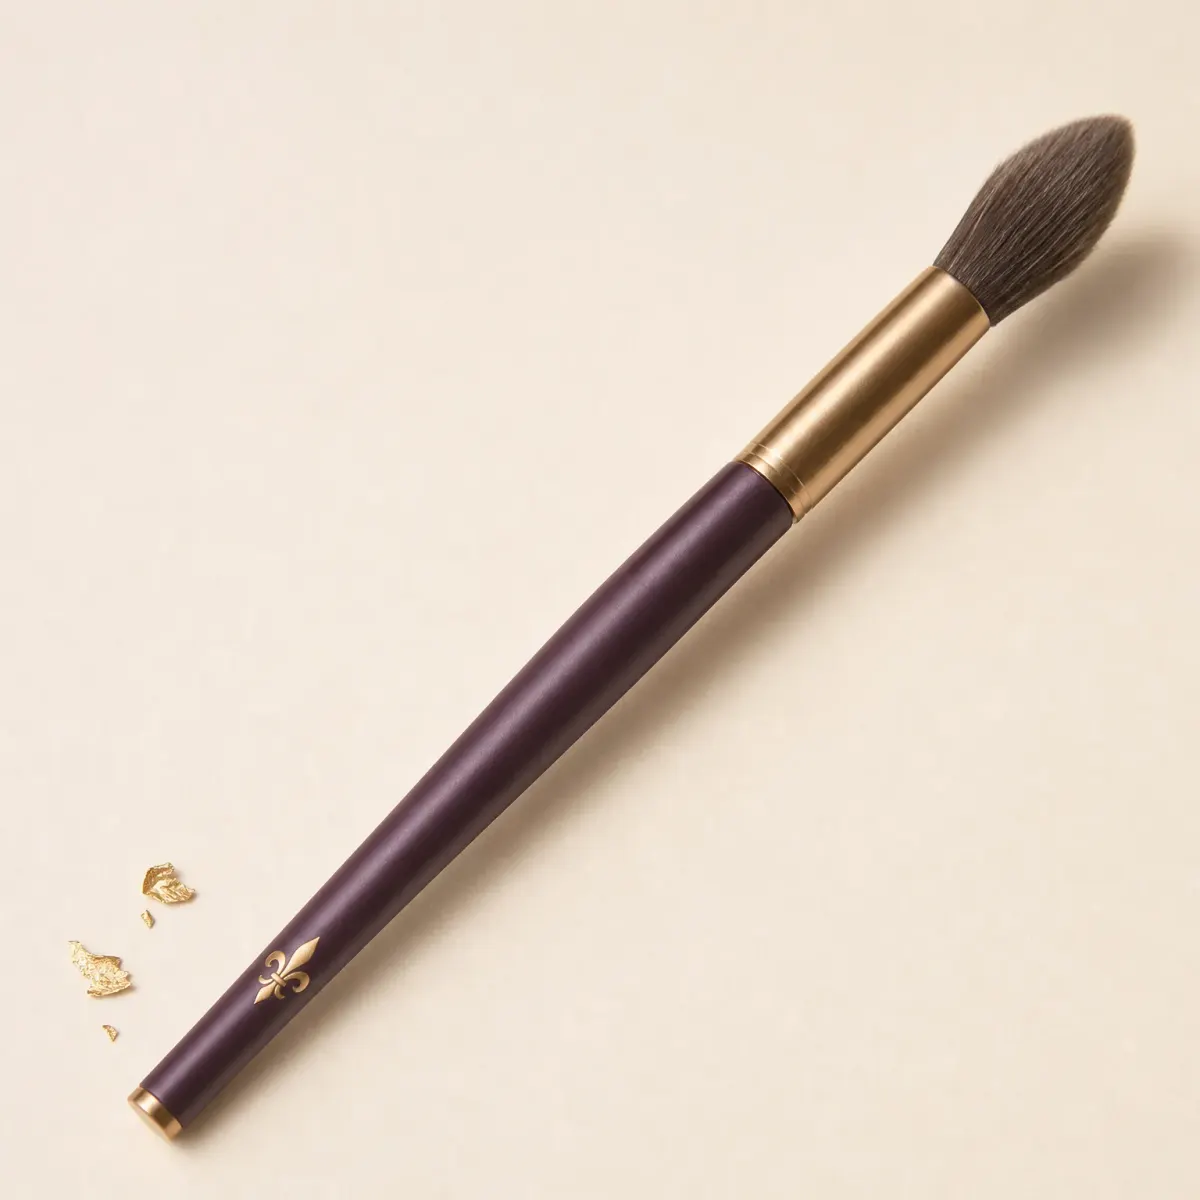
A tapered sculpting brush is a narrow, oval face brush that tapers to a soft point, used to place contour precisely with the tip and blend it out with the sides.
Our picks
Few houses sell a single tapered brush for contour: most tapered face brushes are sold for powder, blush or highlighter. These are the ones whose makers describe them as tapered or pointed and sell them for sculpting, from drugstore to prestige. Each opens where its maker sells it: on Amazon, or at the house’s own shop.
As an Amazon Associate I earn from qualifying purchases. Affiliate links — we may earn a commission at no extra cost to you. How this works
Contour and highlightPrestige Charlotte Tilbury
Powder & Sculpt Brush
A makeup artist’s tapered brush, sold for a natural contour and for highlight, so one point does both jobs.
- Tapered end
- Contour and highlight
Budget pointDrugstore e.l.f. Cosmetics
Pointed Powder Brush
An inexpensive pointed brush, listed by its maker for contouring and highlighting with powder.
- Tapered end
- Contour and highlight
- Vegan
Soft sculptMid-range Sigma Beauty
F11 Soft Sculpt Brush
A domed taper that forgives: the end sculpts the hollow of the cheek and the side softens it.
- Domed, tapered
- Powder
- Natural finish
Large pointDrugstore Crown Brush
Pro Pointed Powder / Contour C499
A large pointed brush from a professional maker, for placing contour and, off duty, setting powder.
- Tapered cut
- Synthetic
- Powder
Tapered contourMid-range Bdellium Tools
Golden Triangle 944 Tapered Contour
A tapered head made to sculpt and shape the face, from a brush maker known for its professional series.
- Tapered
- Vegan synthetic
- Powder
Low costDrugstore Beauty Creations
Pointed Contour Brush
A plain pointed contour brush at the bottom of the price range, for trying the technique.
- Pointed
- Contour brush
A tapered sculpting brush has a narrow, oval head that comes to a soft point, rather like a flame, or like an artist’s round brush made large enough for the face. It does two jobs with two parts of itself. The tip places colour: a line of contour beneath the cheekbone, a touch at the temple, a shadow under the jaw. The sides, fuller and softer, then blend that colour until no line is left. Most are made for powder, and several are sold for highlighter as well as contour, since the point that places a shadow places a highlight just as well.
Its neighbours are easy to confuse with it. An angled contour brush has an edge instead of a point, and lays a band of shadow along the hollow in one stroke. A tapered powder or blush brush is usually larger and looser, made to sweep rather than to place. A nose contour brush is the same idea made much smaller. Of the four, the tapered brush is the most adaptable: it does the cheek, the jaw and the temple, and, used lightly, the sides of the nose.
Choosing one
Look first at the point. A firm, fine tip places colour exactly and suits anyone who likes a defined contour; a soft, rounded one, like Sigma’s domed F11, diffuses as it goes and forgives a heavy hand. Then the density. A loose head deposits a sheer layer and blends easily; a denser one carries more colour and suits a deep pressed powder, which needs a little pressure to pick up.
Size decides the job. A large tapered brush, such as Crown’s C499, covers the cheekbone and jaw quickly and doubles as a brush for setting powder; a smaller one reaches the temple and the sides of the nose. For cream contour, choose synthetic fibre, which does not soak up the formula; for powder, hair or synthetic will do. Test the point before buying if you can: pressed lightly against the back of the hand, a good one bends and springs back to a point rather than splaying.
Tapered or angled? An angled brush is quicker for a single, even band of shadow beneath a pronounced cheekbone. A tapered one suits a softer or rounder face, where the shadow has to be built gradually and placed by eye, and anyone who wants to shade the cheek, the jaw, the temple and the nose with one tool.
Placing and blending
Use the point to place and the sides to blend. Load only the tip: touch it to the powder, tap off the excess, and draw a light line beneath the cheekbone from near the ear towards the mouth, stopping in line with the outer corner of the eye. Then turn the brush so that its side lies along the line, and blend upward in small circles or short sweeps until the edge has gone. Build a second layer only where the shadow needs to be deeper, usually nearest the ear.
The same two movements work elsewhere. At the temple, set the tip at the hairline and sweep the side back into the hair. Under the jaw, draw the tip along the underside of the bone and blend downward, towards the neck, so that the shadow has no lower edge. On the sides of the nose, use very little colour and only the finest part of the tip.
Keep one brush for shadow and another for light if you use both. Wash a tapered brush gently, squeezing rather than rubbing, and reshape the point while it is wet; a point that dries splayed will not place colour cleanly again.
Where it came from
The tapered sculpting brush is the painter’s round brush made for the face. The Getty’s art vocabulary defines rounds as artists’ brushes that are round and have tapered points, “useful for sketching, outlining, and for fine detail”,[1] and in a sculpting brush it is still the point that does the outlining.
The stage worked that way long before anyone sold a brush for contour. S. J. Adair Fitz-Gerald’s How to “Make-up”, a guide for amateurs published in 1901, recommended for lights and shadows “a paint brush of camel’s hair, and each brush should be only used for its own colour”. The brush was dipped in melted greasepaint and pressed between finger and thumb to shed the surplus and spread its hairs into a broader surface, and with that the shadows were worked in; “for the finer lines, that is to say crow’s feet, use the tip of the brush.”[2] A broad side for shadow, a point for detail and one brush to each colour: the advice has not needed to change.
What has changed is the scale. The stage brush drew wrinkles and lines at the size of a painter’s detail; the brushes in the carousel are sized for the cheekbone rather than a wrinkle, and sold with the old instructions written into their descriptions. Sigma tells buyers to use the tapered end of its F11 in the contours of the cheeks and the side of the brush on the apples, and Crown says the tapered cut of its C499 allows total control of where the colour goes.
The techniques
- Contour
- Shade beneath the bone to make it recede, then soften the top edge.
- Blend
- Soften an edge until one colour passes into the next without a line.
Sources
- [1]rounds (brushes), Art & Architecture Thesaurus J. Paul Getty Trust.View source (opens in a new tab) Accessed 2026-09-26.
- [2]How to "Make-up": A Practical Guide for Amateurs and Beginners Samuel French, London and New York; digitized by the Internet Archive, 1901.View source (opens in a new tab) Accessed 2026-09-26.
What it is used with

Other kinds of cheek & sculpting brushes
Blush brush
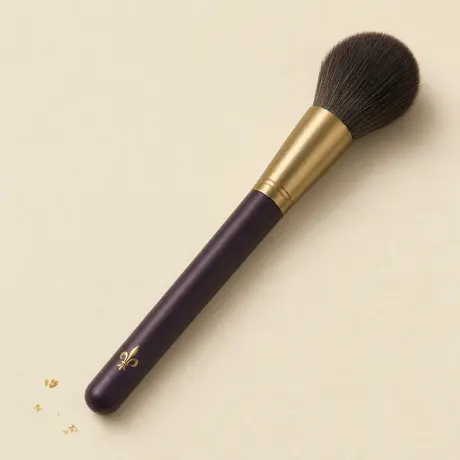
A medium, soft, domed brush sized to the apple of the cheek.
Read the guide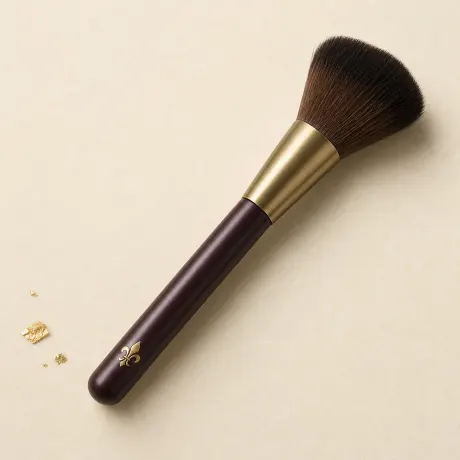
Angled blush brush
A fluffy brush cut on a slant to follow the cheekbone.
Read the guide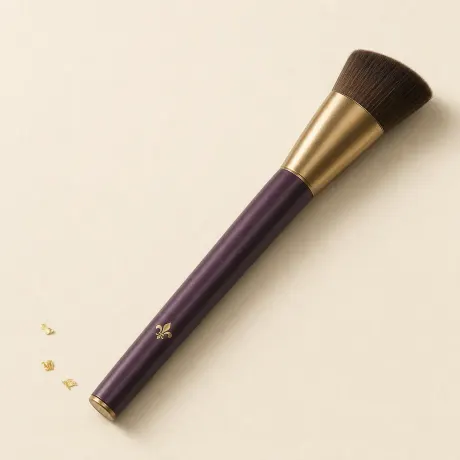
Angled contour brush
A denser brush cut on a sharp slant, for laying contour into the hollow of the cheek.
Read the guide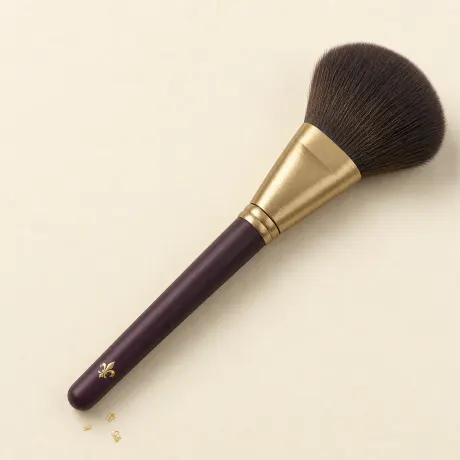
Bronzer brush
A large, loose, slightly flattened brush that diffuses warmth over a wide area.
Read the guide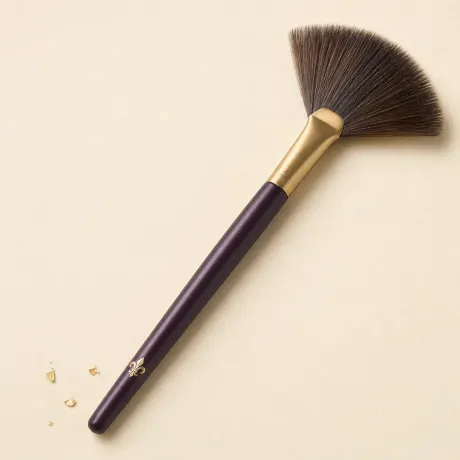
Fan brush
A thin arc of bristles — the lightest touch in the kit — for highlighter and for dusting away fallout.
Read the guide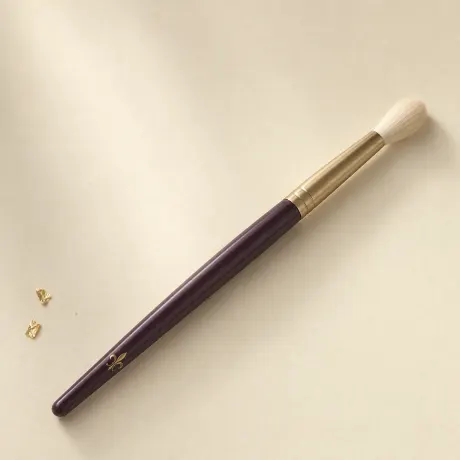
Tapered highlighter brush
A small, soft, pointed brush that puts highlight exactly on the high point.
Read the guide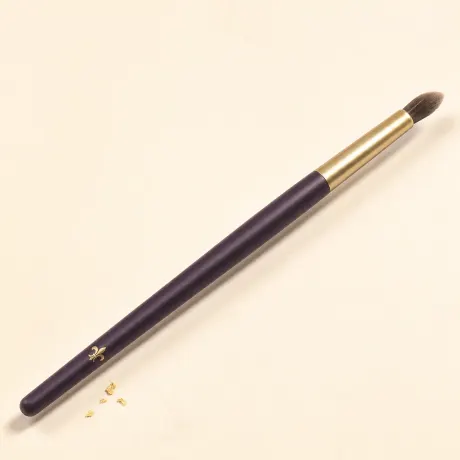
Nose contour brush
A small, dense, tapered brush for shading narrow areas: the sides of the nose, the hairline, the crease of the chin.
Read the guide